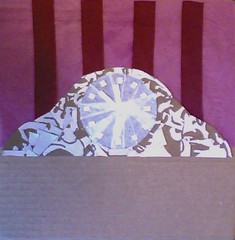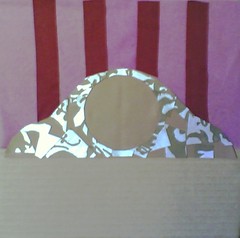
Paper Clock (Collage)
Originally uploaded by randubnick.
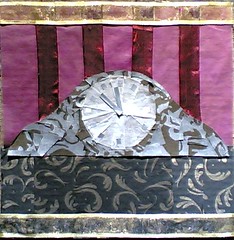
Here is my clock collage as it looked when I had finished working on it yesterday. For the area underneath the clock, I decided to use a printed paper napkin that I had at home (part of a set received as a gift). I cut the napkin into strips and pasted them down. Then I added the two strips of gold mesh ribbon that my daughter had saved for me. Because the ribbon is transparent, I used acrylic gel medium for the glue. It will be completely clear when it dries. Later, I will coat the entire collage with acrylic medium, but it is easier to photograph before it is coated. I decided to take a picture of this collage in the sun that was coming through the windows at Red Brick, and I think it is easier to see this way.